- Author: Pride
- Date: April 13, 2022
- Updated: April 28, 2022
- Expansion: TBC Classic


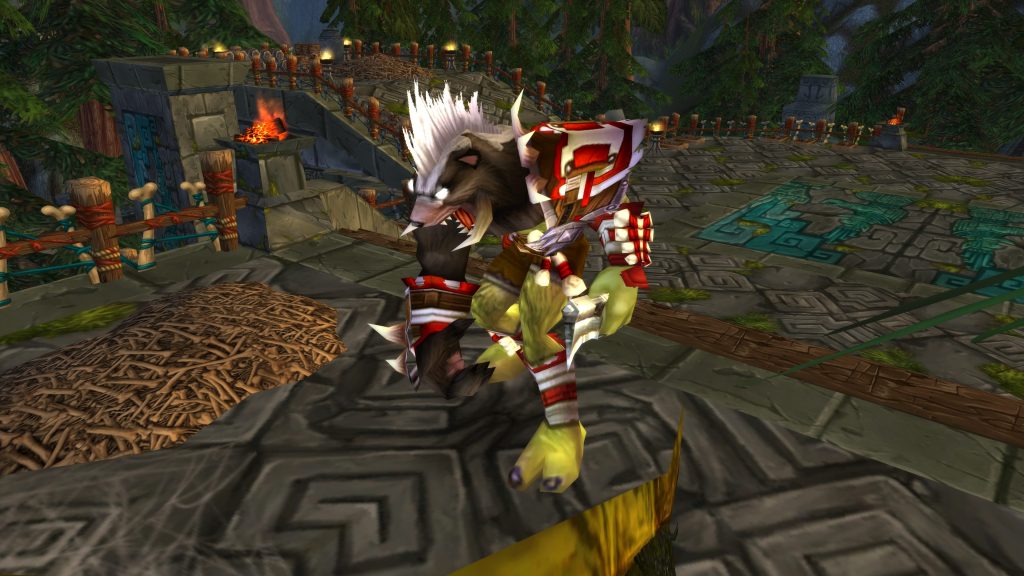
Nalorakk, the Bear Avatar, is one of the 4 Loa bosses that players will fight in the Zul’Aman raid.
He will typically be the second boss that players fight in Zul’Aman, and most players consider him to be the easiest boss in all of Zul’Aman. He is the first boss that requires two tanks — though a Protection Paladin could solo tank him if your raid has sufficient raid DPS. Defeating Nalorakk adds 15 minutes to the timed challenge event.
This guide will offer a detailed, step-by-step tutorial on how to defeat Nalorakk before you bleed out due to his powerful DoTs.
Role Summaries
- Make sure you’re on Nalorakk’s platform when he is engaged, not on the stairs — you will be locked out if you’re on the stairs
- Immediately as the fight starts, spread out so you’re at least 11 yards away from every other player
- As much as possible, keep your back against the wall, so you don’t get knocked very far away by Surge
- Use your personal DPS cooldowns during Heroism / Bloodlust for maximum DPS, while Nalorakk is in his troll form
- Don’t be at your maximum range from Nalorakk – he will knock you very far away with Surge
- Casters: Nalorakk will repeatedly silence in his bear form, so it’s strongly advised that you save your cooldowns & trinkets for his troll form
Troll Form
- Nalorakk’s damage is pretty low so you could help DPS him down during this phase
- Make sure both tanks are above 50-60% HP at all times however, to avoid accidental Brutal Swipe
- He uses Surge pretty infrequently, so you can just throw a HoT effect on anyone hit by it and let it heal them up
- After the first troll form, you’ll have to heal the offtank more as he has the Lacerating Slash debuff from the previous phase
Bear Form
- Nalorakk’s tank damage increases significantly here, while his raid damage gets even lower
- Spam heal on the main tank if they have both bleed effects at once — Lacerating Slash & Rend Flesh
- Nalorakk will typically silence you after putting both bleeds on the main tank, so make sure they have heal-over-time effects
Troll Form
- Both tanks need to stack up in front of the boss here, with one tank main tanking while the second tank is a Brutal Swipe damage sponge
- If you’re only using 1 tank, it’s recommended that you use mitigation gear & consumables, Brutal Swipe hits hard
Bear Form
- If you’re using 2 tanks for this fight, the second tank needs to taunt and take over tanking, as Mangle makes his bleeds very dangerous
- Consider using defensive cooldowns to help your healers out when you have both bleed effects at once — Lacerating Slash & Rend Flesh
- If you’re using a single Protection Paladin tank strategy, use Divine Shield when you have both bleeds, so you remove them & Mangle
- Blessing of Protection will remove Lacerating Slash & Rend Flesh, but not Mangle
- After he reverts to his troll form, the original tank needs to taunt and take over tanking, while the bear form tank soaks Brutal Swipe again
Abilities
Troll Form
Nalorakk starts the fight in his regular troll form. In his troll form, he can use Mangle, Brutal Swipe and Surge. Furthermore, he dual wields his axes, causing him to attack twice every 2 seconds — though his off-hand attacks are about 50% weaker than his main hand attacks.
After 45 seconds in his troll form, he transforms into his bear form.
Bear Form (Shape of the Bear)
Nalorakk transforms into his bear form after 45 seconds of his troll form. In his bear form, he can use Lacerating Slash, Rend Flesh and Deafening Roar. Furthermore, he loses his dual wield ability and attacks 33% slower, so once every 2.66 seconds, but his attacks deal 15% more damage.
Nalorakk will revert back into his troll form after 30 seconds of his bear form.
Raid Composition & Preparation
The Pull
Nalorakk will constantly taunt you as you’re fighting the packs of enemies leading up to his platform. Once you’re there, there’s 2 more packs to clear — be careful when pulling the 2nd pack, so you don’t accidentally pull Nalorakk immediately afterwards.
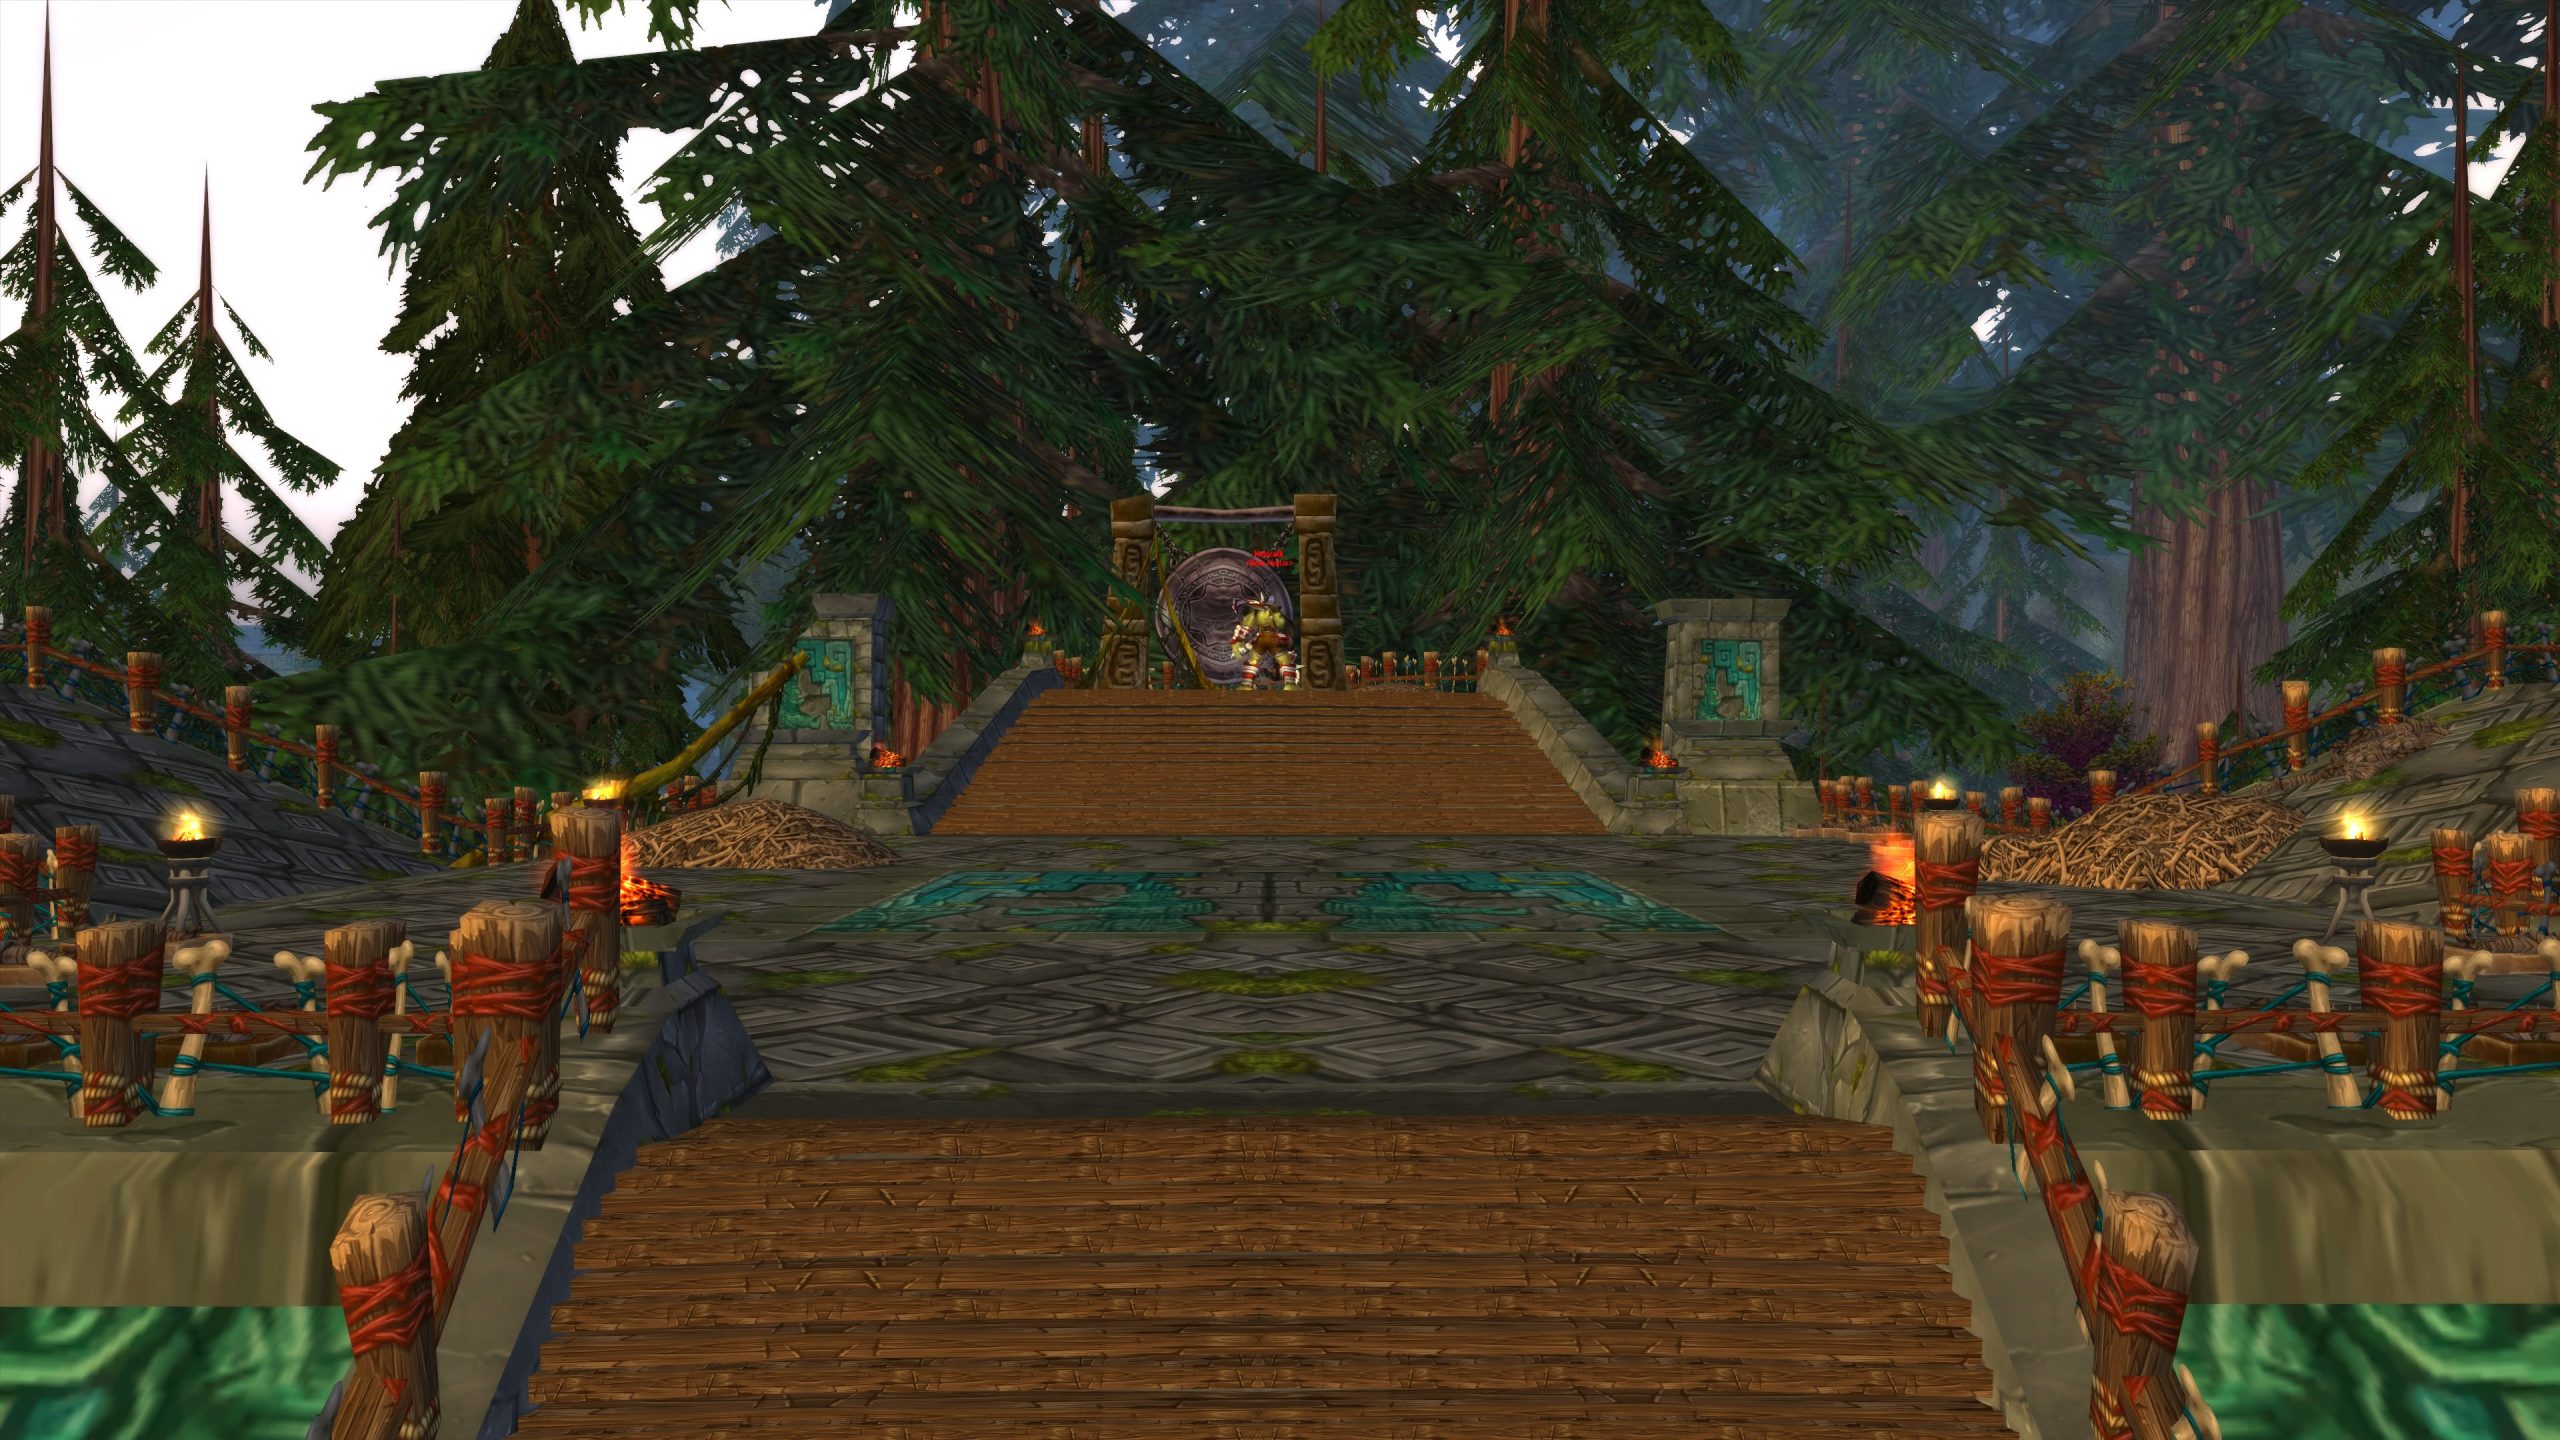
You can safely buff up and regenerate mana on the western side of Nalorakk’s platform, just past the stairs, as his aggro range isn’t particularly big. Once your group is ready to pull, have your Hunters use Misdirection on the tank and pull. If your group doesn’t have any Hunters, the main tank can just run in — Nalorakk will typically not use any abilities right at the start, so it’s safe for them to do so.
Note that like most Zul’Aman bosses, Nalorakk’s platform will be locked up the moment you engage him. Therefore, your raid should all make sure to be on the platform when you’re pulling — don’t be on the stairs, or you’ll be locked out of his arena and thus be unable to help your raid.
The Fight
Nalorakk is an extremely straight-forward boss fight that consists of two “phases”, or forms — troll & bear form. He will rotate between those two forms for the entire fight, staying in troll form for 45 seconds and bear form for 30 seconds at a time. Nalorakk is an extra nice guy, and will typically not use any abilities for 10 seconds after switching form, so your raid has ample time to adjust to the new form.
Troll Form
Nalorakk will start the fight in his form. You will want to position as follows for this form:
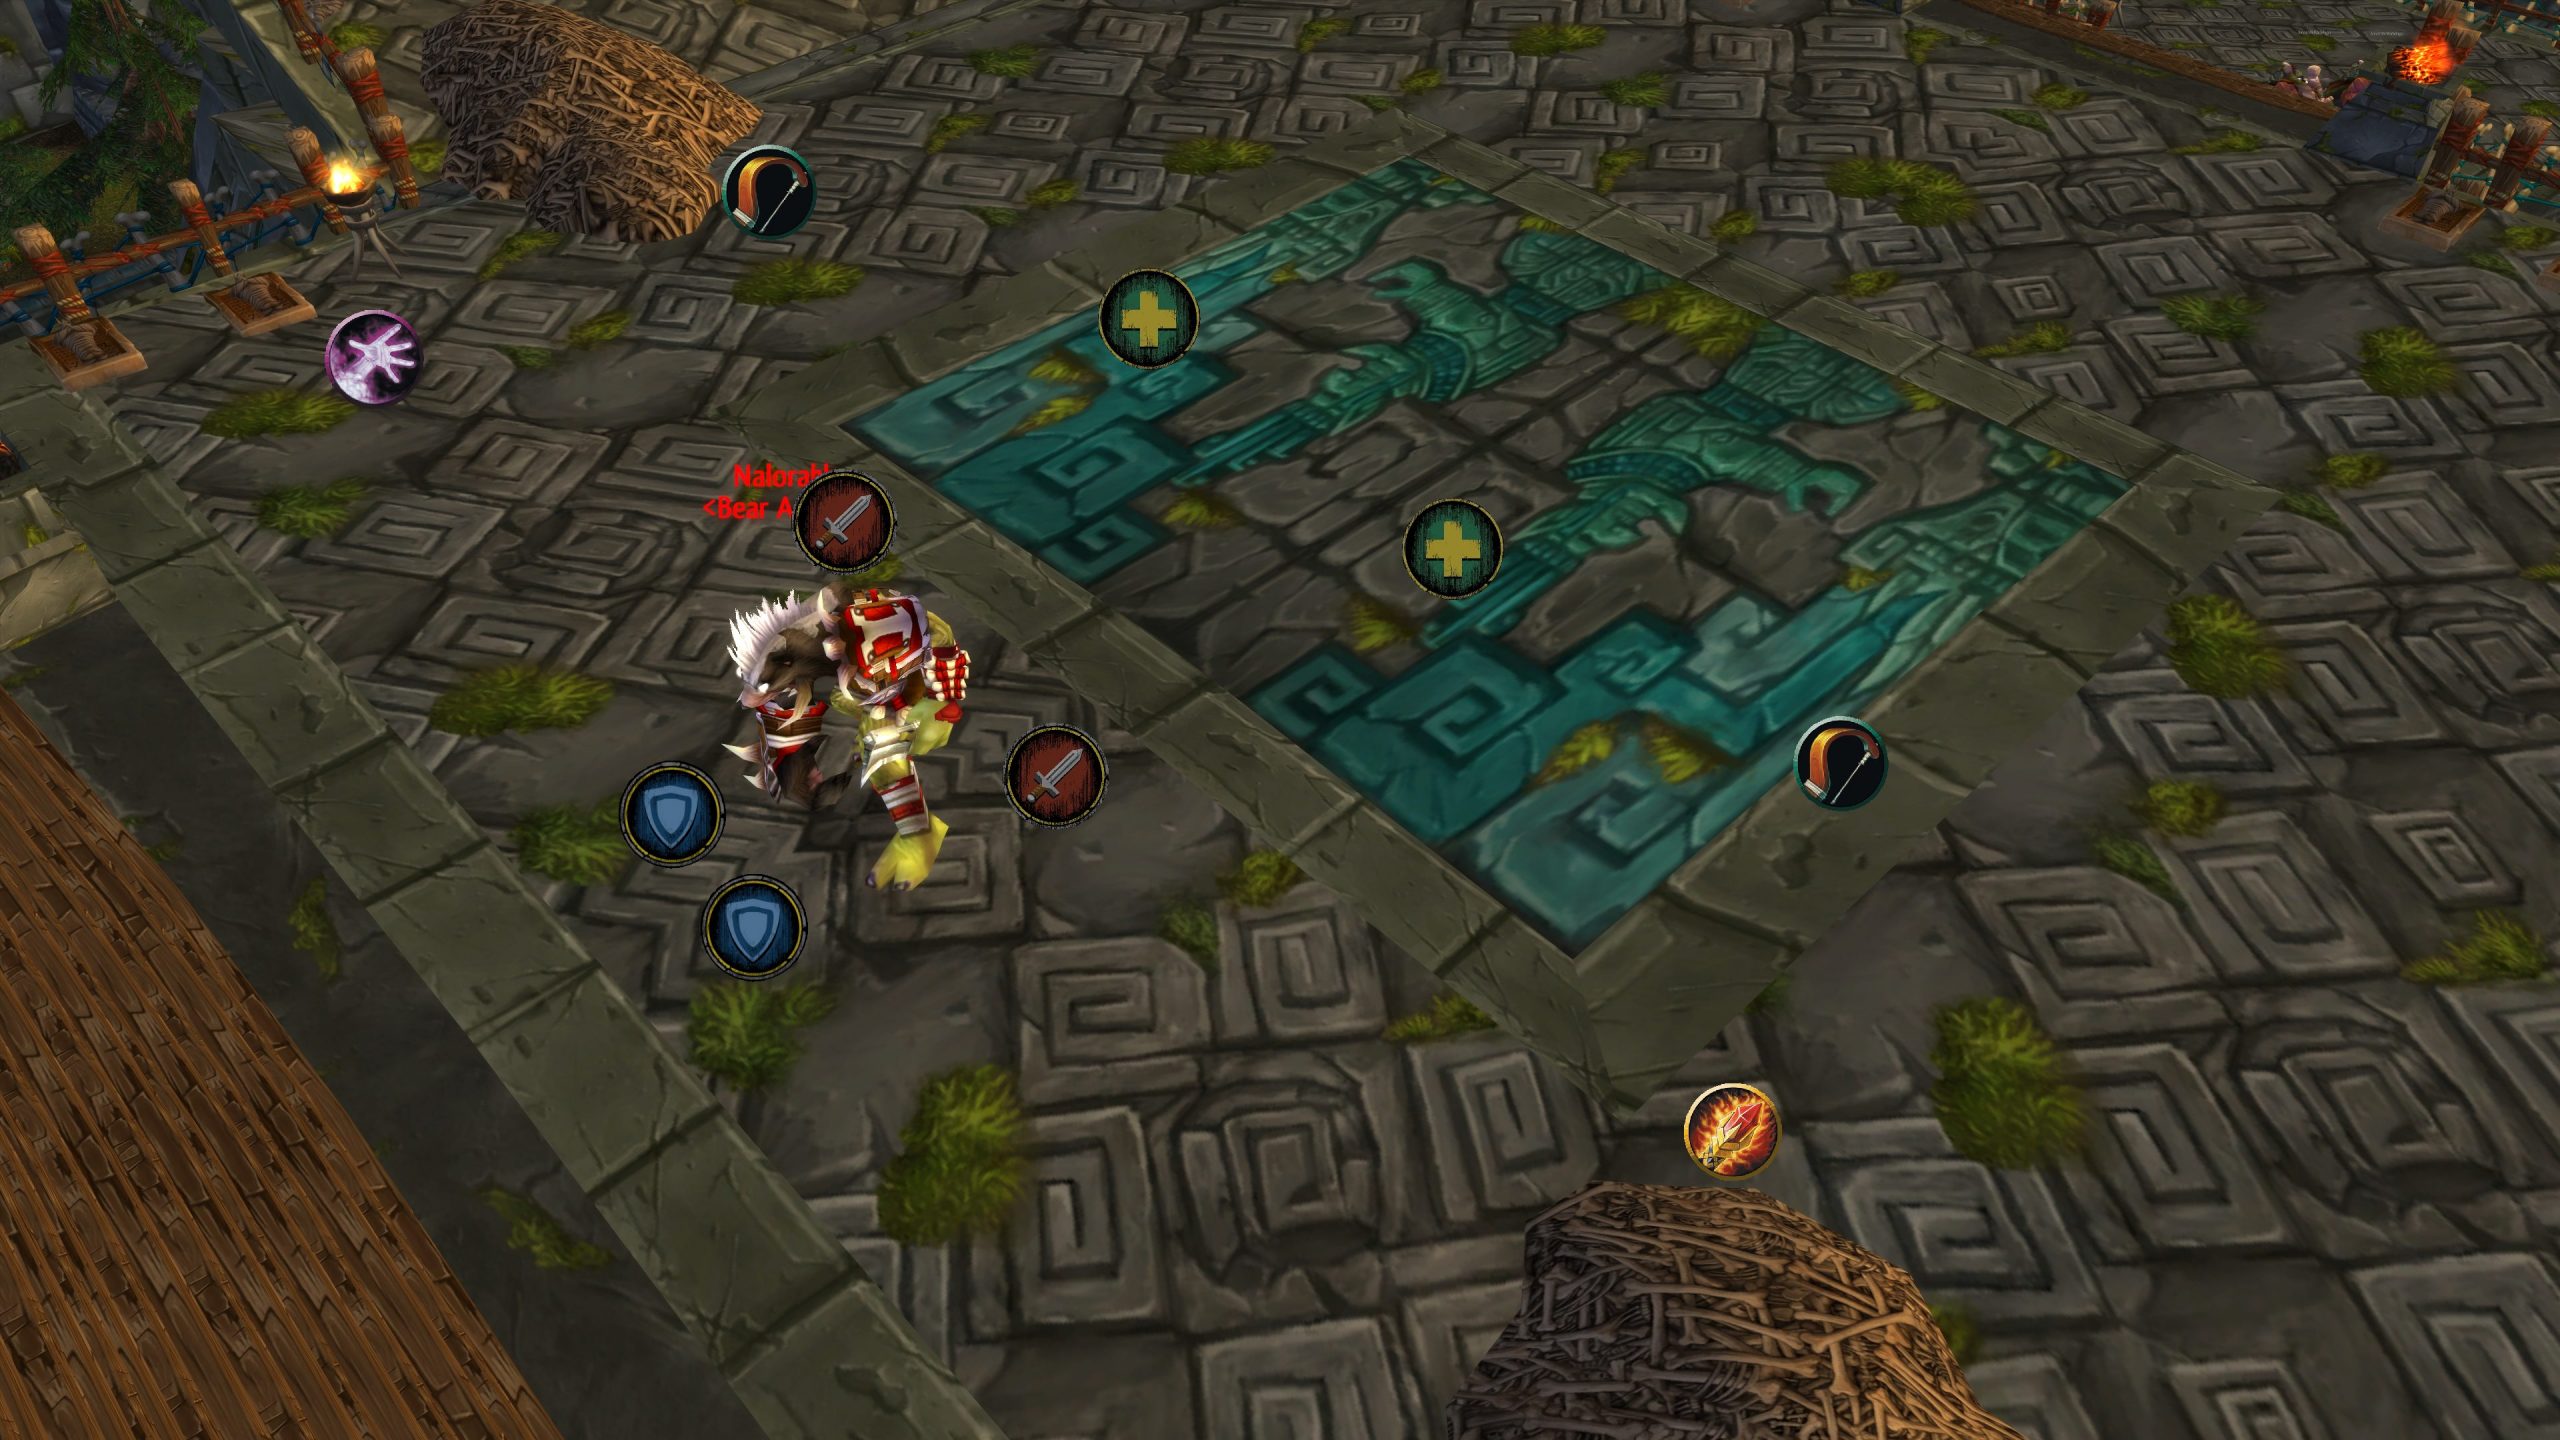
Everyone spreads out in the room. Ranged players should never be within 10 yards of another player, so as to avoid having multiple players get hit by Surge. A raid boss mod can help you stay apart by typing the /range 10 command in chat. Furthermore, it can be beneficial if ranged DPS players stand with their backs against the wall, like the crafty Warlock in the screenshot above — that way, they don’t have to run as far before they can attack Nalorakk again.
The only other positioning requirement for the troll form phase will be that your tanks stack up on top of each other in front of the boss, if you’re using 2 tanks. By stacking up, they will be splitting Nalorakk’s Brutal Swipe damage 2-ways, which makes things a lot easier for your healers. If your tanks have good gear, however, you could just let 1 tank take it alone while the other tank stays behind Nalorakk with the melee DPS and helps out with some DPS of his own — that way you both increase your raid’s damage & reduce Nalorakk’s damage, by reducing parry haste.
Besides that, this form is more or less a “tank & spank”. Your raid should use Heroism / Bloodlust right at the start, along with personal DPS cooldowns. You’ll have to deal with Deafening Roar‘s silence effect in his bear form, so now is the best time to use them. Your healers could even help DPS a little bit in this phase, as there’s generally very little damage coming out, besides some moderate damage on the tank that 1 healer can deal with and the occasional Surge.
After 45 seconds of his troll form, Nalorakk will transform into his bear form.
Bear Form
Positions will remain the same for Nalorakk’s bear form phase, with one difference: if you’re using 2 tanks, the 2nd tank should now taunt & start tanking the boss instead, while the previous tank moves behind the boss and switches to DPS mode — there’s no more Brutal Swipe splitting damage in this phase.

Nalorakk’s bear form (Shape of the Bear) is even more straightforward than his troll form. However, he ramps up the damage on tanks quite significantly — though he loses his dual wield ability, attacking once every 2.66 seconds rather than twice every 2 seconds, he hits 15% harder and has access to 2 powerful bleeds effects in Lacerating Slash and Rend Flesh. Your healers are the only ones who will really notice this change, in practice.
After the 10 second grace period after the transition, Nalorakk will start using his bear form abilities, typically in the following order: Lacerating Slash > Rend Flesh > Deafening Roar > Rend Flesh > Lacerating Slash > Deafening Roar. Thus, your healers will need to make sure that your tanks are constantly topped off when the tank has both bleed effects on them, as they’re soon going to be silenced and will be thus briefly unable to heal.
If you’re using a 1 tank / Protection Paladin strategy, it is recommended that your Protection Paladin uses Divine Shield (and cancels it right away) after the first Rend Flesh, thus removing both bleed effects and Mangle, ensuring that they can comfortably tank the remainder of the bear form phase. If this is the second bear form, they can use Blessing of Protection to remove both bleed effects, but as Mangle is a Nature effect, it won’t be removed — the next set of bleed effects will hurt, and thus it would be a good idea for them to use defensive cooldowns & trinkets then.
After 30 seconds of his bear form, Nalorakk will revert back to his transform, and thus begin this cycle anew.
Troll Form… Again
With Nalorakk back in his troll form, your group should assume troll form positions once again, with both tanks stacked up on top of each other in front of Nalorakk so as to split Brutal Swipe‘s damage. The tank who previously tanked his troll form taunts him and takes over tanking once more, while the bear form tank essentially just serves as a Brutal Swipe damage sponge again. The bear form tank likely still has the Lacerating Slash bleed effect on them as it persists for a long time, so they’ll need some more healing than the first troll form, in order to comfortably tank Lacerating Slash.
And that is the entire fight — you have now seen all of Nalorakk’s mechanics. He’ll repeat this “dance”: 45 seconds of troll form, followed by 30 seconds of bear form, repeat. If you’re using a 1 tank strategy, you’ll ideally want to kill him in 3 minutes to 3 minutes and 30 seconds, before his third bear form complicates things for you. Everyone else will experience smooth sailing after making it both of Nalorakk’s forms without any deaths.
Congratulations on defeating Nalorakk! His death will extend your timed challenge timer by 15 minutes, and put you solidly at the half-way mark of getting that fancy Amani War Bear that everyone in your group would love to ride!
About the Author


