- Author: Furious
- Date: July 7, 2020
- Updated: July 28, 2021
- Expansion: TBC Classic


Welcome to our Burning Crusade Classic strategy guide for The Curator of Karazhan! The Curator is technically the fifth boss fight in the raid, but serves as the third mandatory encounter after the Opera Event. It’s a repetitive fight with basic mechanics, but it does have a hard DPS requirement linked to gear and may stop your raid from progressing further. With adequate gear, he’s certainly manageable. Let’s take a look at what you should watch for when killing The Curator!
Getting Started
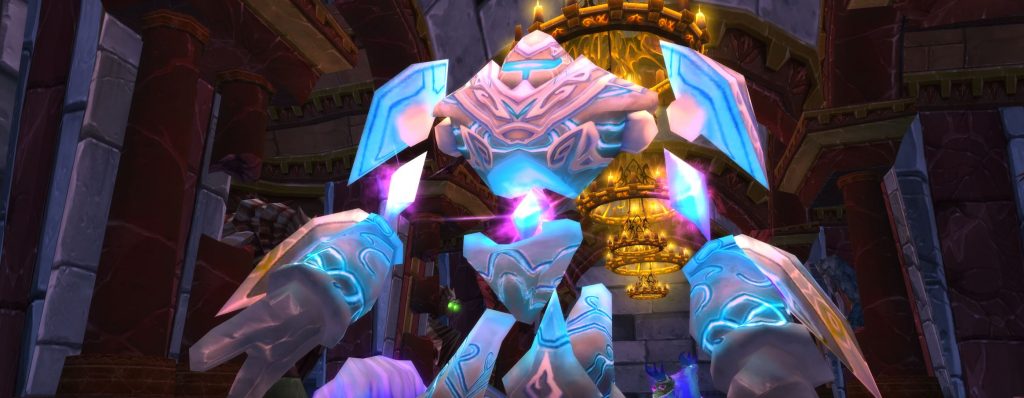
The Curator can be found in the Menagerie after climbing the Master’s Stair. Pull trash slowly and ensure that whoever is afflicted by Arcane Charge runs away from other raid members. You’ll need two tanks for this fight. The encounter consists of three phases, two of which alternate until 15% health, when phase three will start. Due to heavy damage output and a 10 minute enrage timer, reaching phase three as quickly as possible is a must. We’ll split each phase into its own section below to help you prepare.
Role Summaries
DPS
- Avoid getting hit by traveling Astral Flares.
- Focus on killing Astral Flares and only DPSing the boss when all are dead in phase one.
- Save offensive cooldowns for phase twos.
Healers
- Avoid getting hit by traveling Astral Flares.
- Have a healer designated to keeping the offtank soaking Hateful Bolt alive.
- Try to limit unnecessary mana usage.
Tanks
- Avoid getting hit by traveling Astral Flares.
- Have an offtank soaking Hateful Bolt.
- Help deal damage during phase twos.
Fight Overview
Phase One
The majority of the fight will be phase one, which lasts for 90 seconds before switching to phase two. After 20 seconds, phase one will resume again. When pulling the boss, tank him in the center of the hall and have DPS and healers spread around the wall. Make sure melee are spread out to avoid chaining damage from flares.
The Curator auto attacks for decent damage and has two important abilities to manage during this phase. The first is Hateful Bolt, which is cast every 12 seconds and usually hits whoever has the second highest threat. This should be the offtank, who will take heavy damage from the spell and must be quickly topped off.
More importantly, he will cast Summon Astral Flare. This will create an Astral Flare that moves toward a target raid member. It does a chaining damage effect to three nearby raiders that it hits on its way toward its original target. The flare cannot be CCed and will deal massive damage if neglected and multiple are present. Because of this, focusing flares is the highest priority in the fight.
DPSing the boss is fairly unimportant during phase one. Only when no flares are present can you attack the boss. This won’t happen often because flares spawn every 10 seconds. Without high DPS, you may not be able to kill them quickly enough to switch onto the boss before the next one spawns.
After the boss casts Summon Astral Flare 10 times, he will run out of mana and use Evocation to restore it, starting phase two. Phase one is all about staying alive and killing flares. If Hateful Bolt gets out of hand or you’re unable to kill flares quickly, this fight will be near impossible.
Phase Two
After 90 seconds and 10 flare casts, phase two will begin. This is marked by his Evocation spell, which lasts 20 seconds and is the entire duration of phase two. During this time, The curator will deal no damage, cast no other abilities, and takes 200% extra damage. With this in mind, there is nothing else to focus on other than burning the boss. Make sure to kill a flare first if it is still alive from phase one. All offensive cooldowns should be used during phase twos to maximize the damage boost benefit.
As most of your damage to the boss will occur during phase twos, you must be aware of how much health you’re removing each time. After roughly five cycles of phase one and twos, you’ll be nearing the 10 minute enrage timer. Because of this, you should aim to remove at least 17% of his health by the end of each phase two to stay on pace to avoid an enrage wipe. If your raid is unable to do so, poor gear is likely the cause.
Phase Three
After cycling through phase one and two enough times to drop The Curator to 15% health, phase three will begin. Assuming you’re under the 10 minute enrage timer, phase three is a soft enrage phase. He no longer uses Summon Astral Flare or Evocation, but casts Hateful Bolt more often and hits harder with his melee attacks. This means that a main or offtank death is highly likely if healers aren’t ready or low on mana.
However, there are no other mechanics during this phase and that allows the rest of the raid to focus on DPSing. If you’re well under the 10 minute enrage timer and your healers have plenty of mana, phase three is a breeze. Just remember to give extra attention to both tanks.
About the Author